Put the layer in the right place.
The included file index lists the blend mode for each PNG. Use it to choose one of these three workflows; not every PNG is transparent.
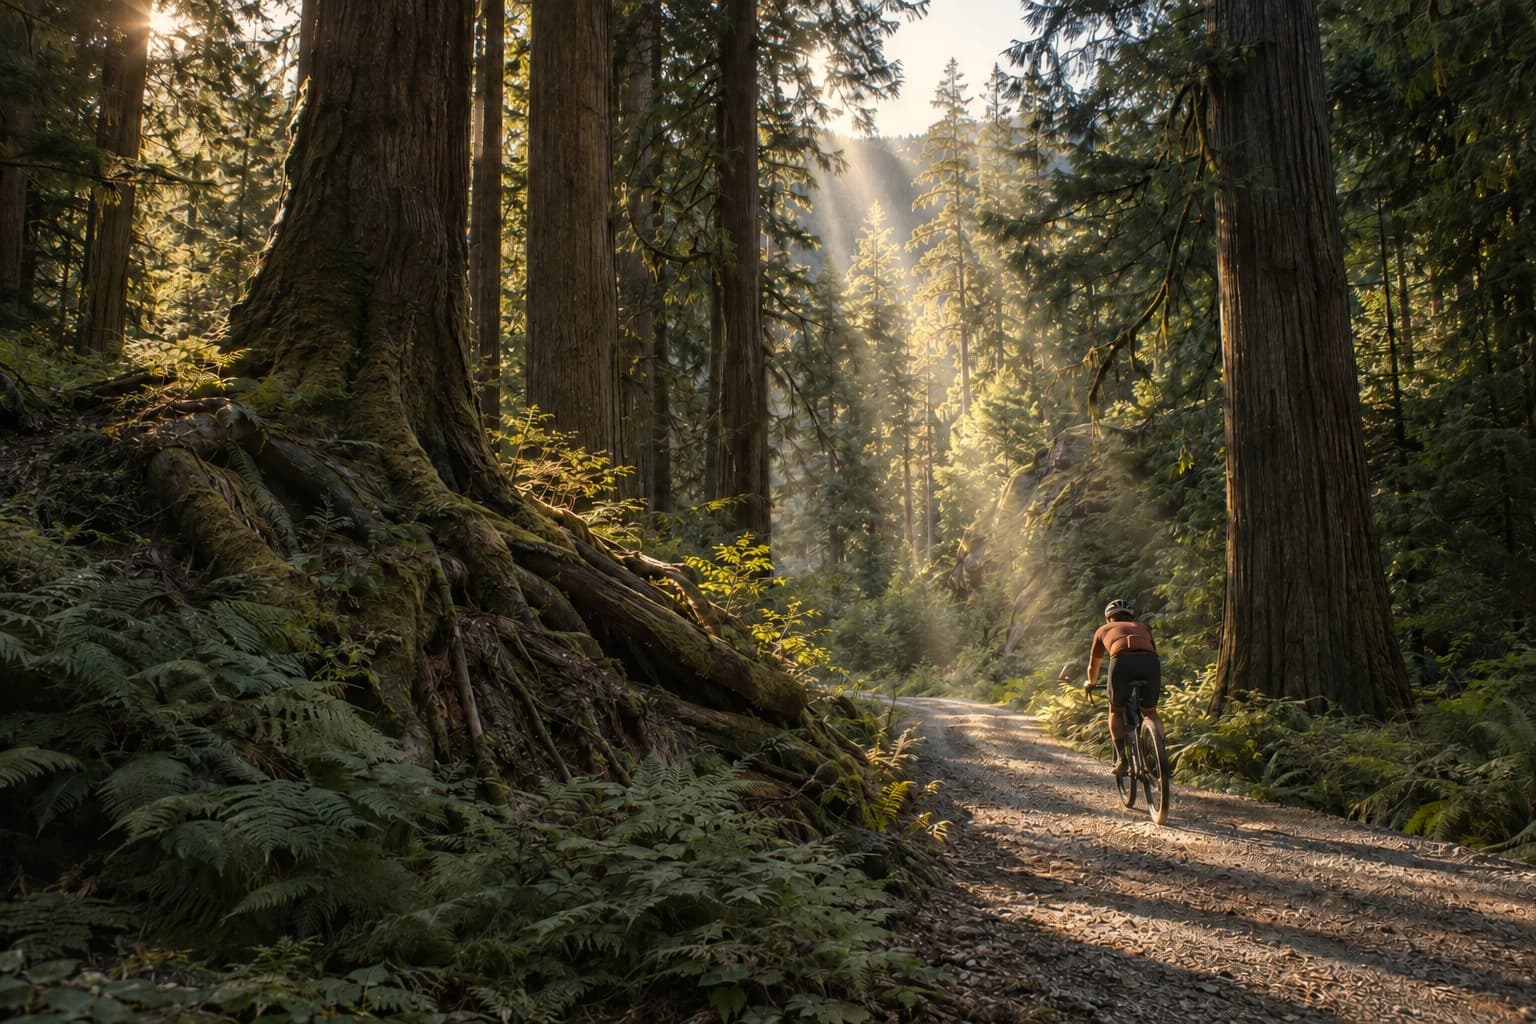
01Screen
Add light
Light rays · light leaks · glowing effects
For bright effects supplied on a black background. Screen makes the black disappear and adds the light to your photograph.
Layers — top to bottom
Light effect · ScreenYour photograph
- Place the PNG above your photograph and set its layer blend mode to Screen.
- Rotate and position it to follow the light already in the scene.
- Lower the opacity and use a layer mask to remove unwanted spill.
Understand blend modes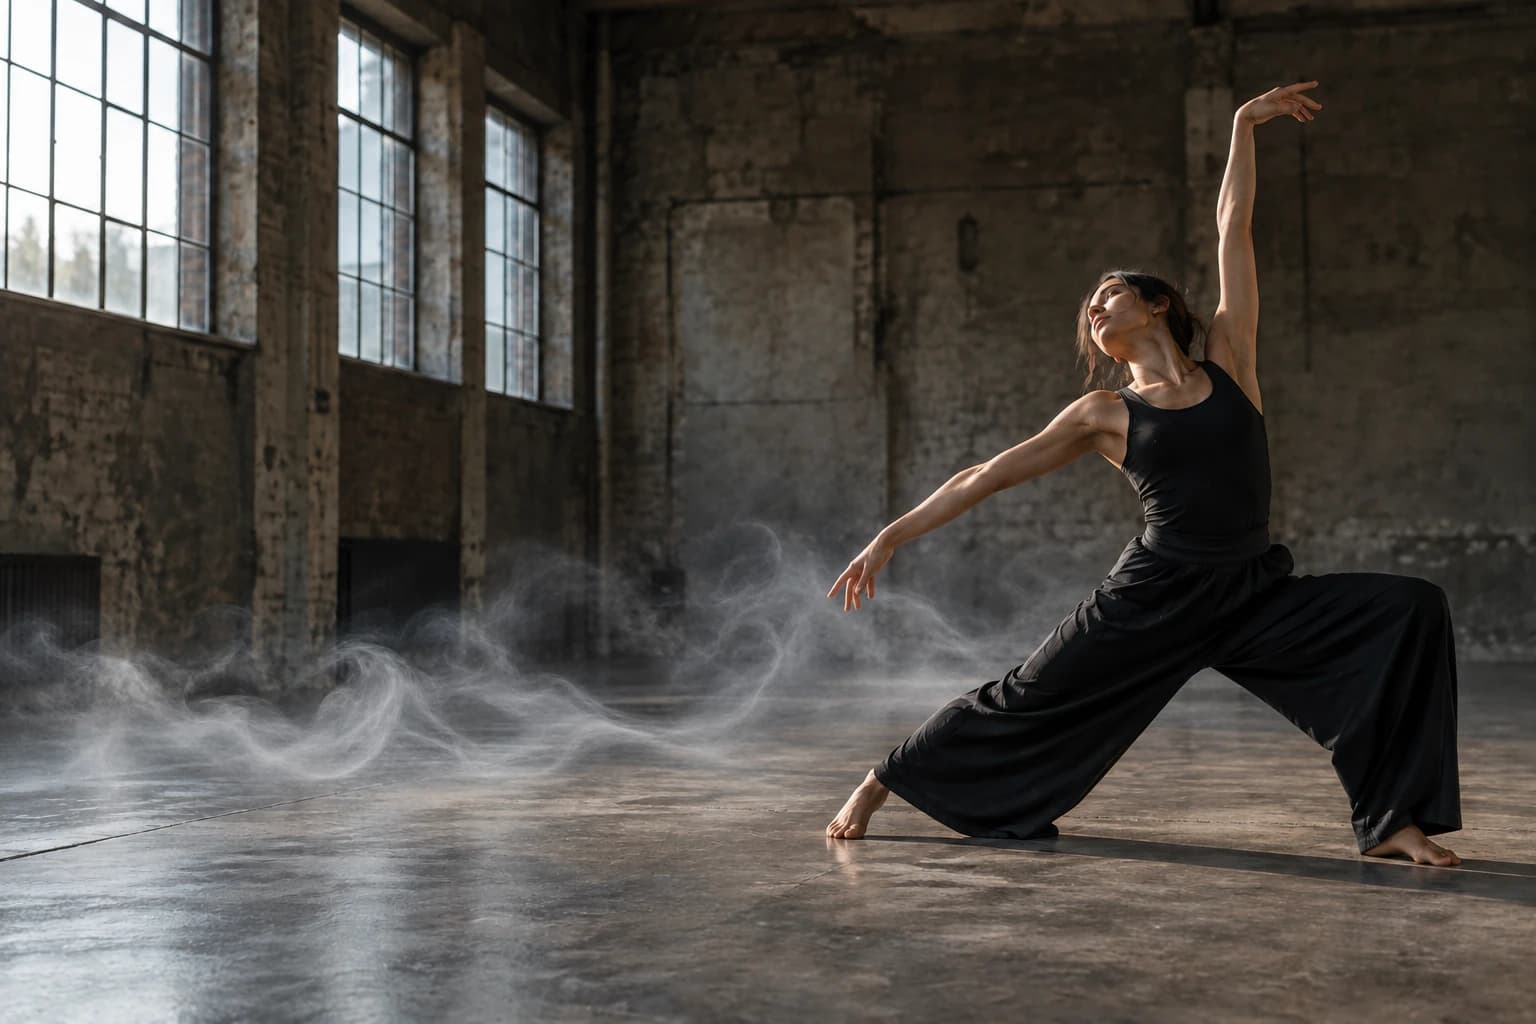
02Normal
Build atmosphere
Fog · smoke · steam · weather · film marks
For PNGs with transparent areas, including dust, scratches and ash. Keep Normal blending so the soft edges and darker details stay intact.
Layers — top to bottom
Transparent effect · NormalYour photograph
- Place the PNG above your photograph and keep its layer blend mode on Normal.
- Match its size and position to the scene: distant mist, rising steam or foreground snow.
- Adjust opacity and mask the effect where a person or object should sit in front of it.
Place fog with believable depth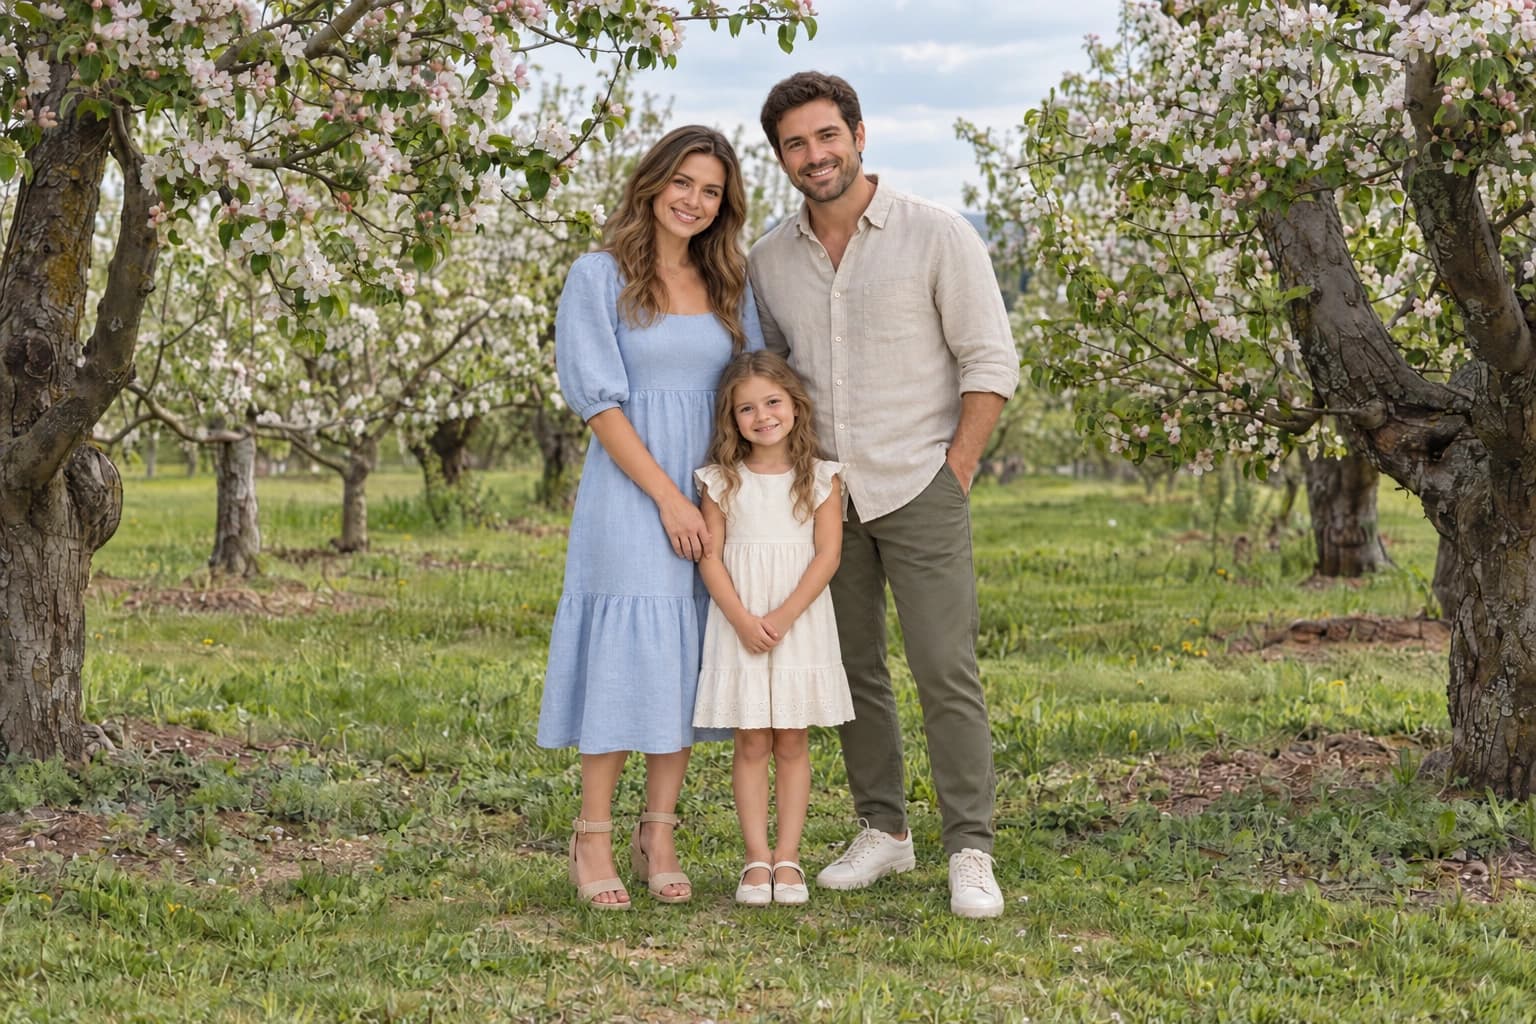
03Normal
Change the setting
Photographic scenes · studio backdrops
A background goes behind your subject. It needs a subject cut-out, matching perspective and, where appropriate, a contact shadow.
Layers — top to bottom
Your subject · maskedNew background · Normal
- Select the person or group and use a layer mask to hide the original background. Refine hair and clothing edges.
- Place the new PNG on a layer below the subject, using Normal blending.
- Match the lighting and scale, then add a contact shadow if the subject rests on a surface.
Match perspective and lightThe example photos are AI-generated and show AI-assisted edits using collection PNGs as references.