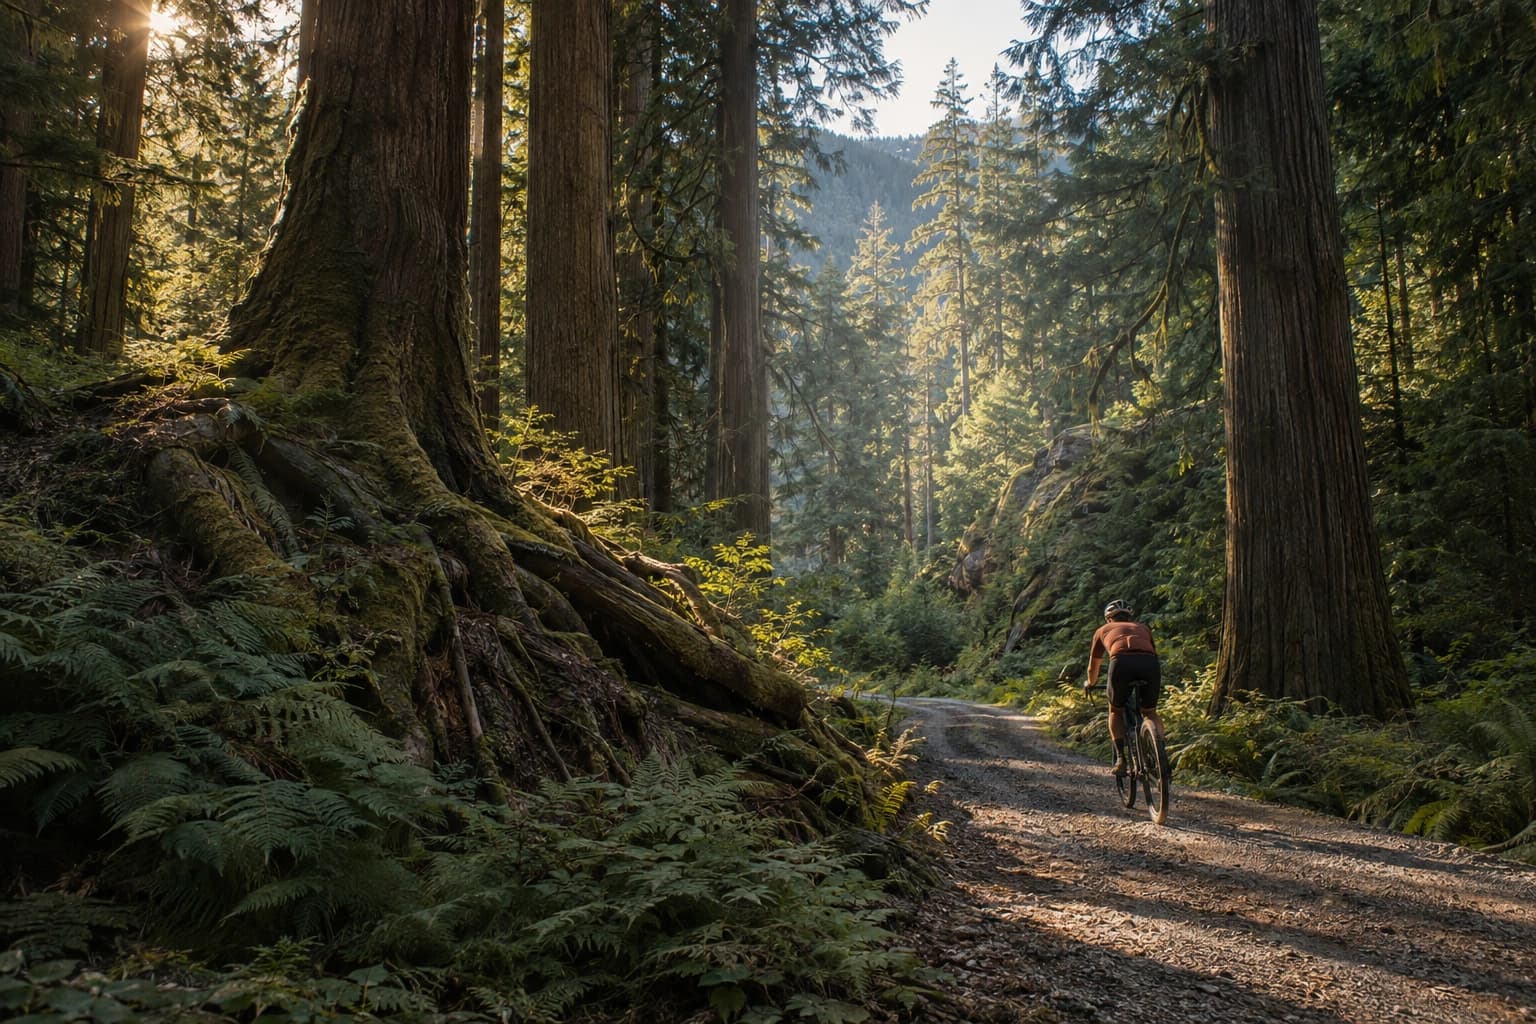
Choose the depth before choosing the texture
Identify the foreground, subject plane and distant background in the photo. Decide which area needs separation. Distant mist can make a subject stand out without covering the face; foreground fog can frame the lower edge but may obscure important details.
Choose a shape that fits that role. A wide ribbon works across a distant tree line. A shallow pool belongs near ground level. A tall side veil is useful when one side of the scene needs atmospheric cover. A visibly defined cloud floating in the middle of a clear room is harder to justify.
Place the fog on its own layer
Start with Normal blending for a transparent fog PNG. Move and scale it while looking at the whole photograph. Begin with restrained opacity, then increase it only until the intended depth relationship becomes visible. There is no single opacity percentage that works for every scene.
- Place the fog above the photograph as a separate layer.
- Align its densest part with the intended ground or background area.
- Use a layer mask to keep nearer objects in front of it.
- Adjust opacity while comparing the edit with the untouched photo.
Let objects pass in front of the mist
If the fog is behind a person, mask it from the person rather than letting it cover hair, clothing and the distant trees equally. Around fine hair, avoid an obvious clean outline: some atmosphere may sit between loose strands without crossing the face at the same density.
Ground fog should interact with feet, rocks and grass. A contact area may remain clear while a more distant patch is veiled. Treat those decisions separately on the mask instead of wiping one large soft circle around the entire subject.
Match the scene’s colour and contrast
Neutral fog is a useful starting point because it can be adjusted to cool shade or warm backlight. Apply colour changes to the fog layer only. A bright white veil over a dark night scene can look luminous; reduce its brightness if it is supposed to be unlit mist.
Distant scenery usually needs less contrast where the mist lies. If you need more separation than the overlay supplies, use a separate masked adjustment on the background. Do not keep increasing fog opacity until the whole picture looks washed out.
Look for three signs of a pasted-on effect
A straight visible border means the overlay ends inside the composition. A sharply detailed mist bank against a defocused background may need a softer source or a small blur on the effect. Repeating the same recognisable curl several times reveals duplication.
Review both the final-size image and a 100% crop. If the effect only works as a tiny thumbnail, it needs more work before delivery. Keep the version without fog so you can compare whether the atmosphere is helping the photograph.
Files for this workflow
Light & Atmosphere
Guide the light, separate the distance and bring a little weather into the scene. PNG layers for portraits, outdoor photographs and expressive edits.
Explore 76 files · $39