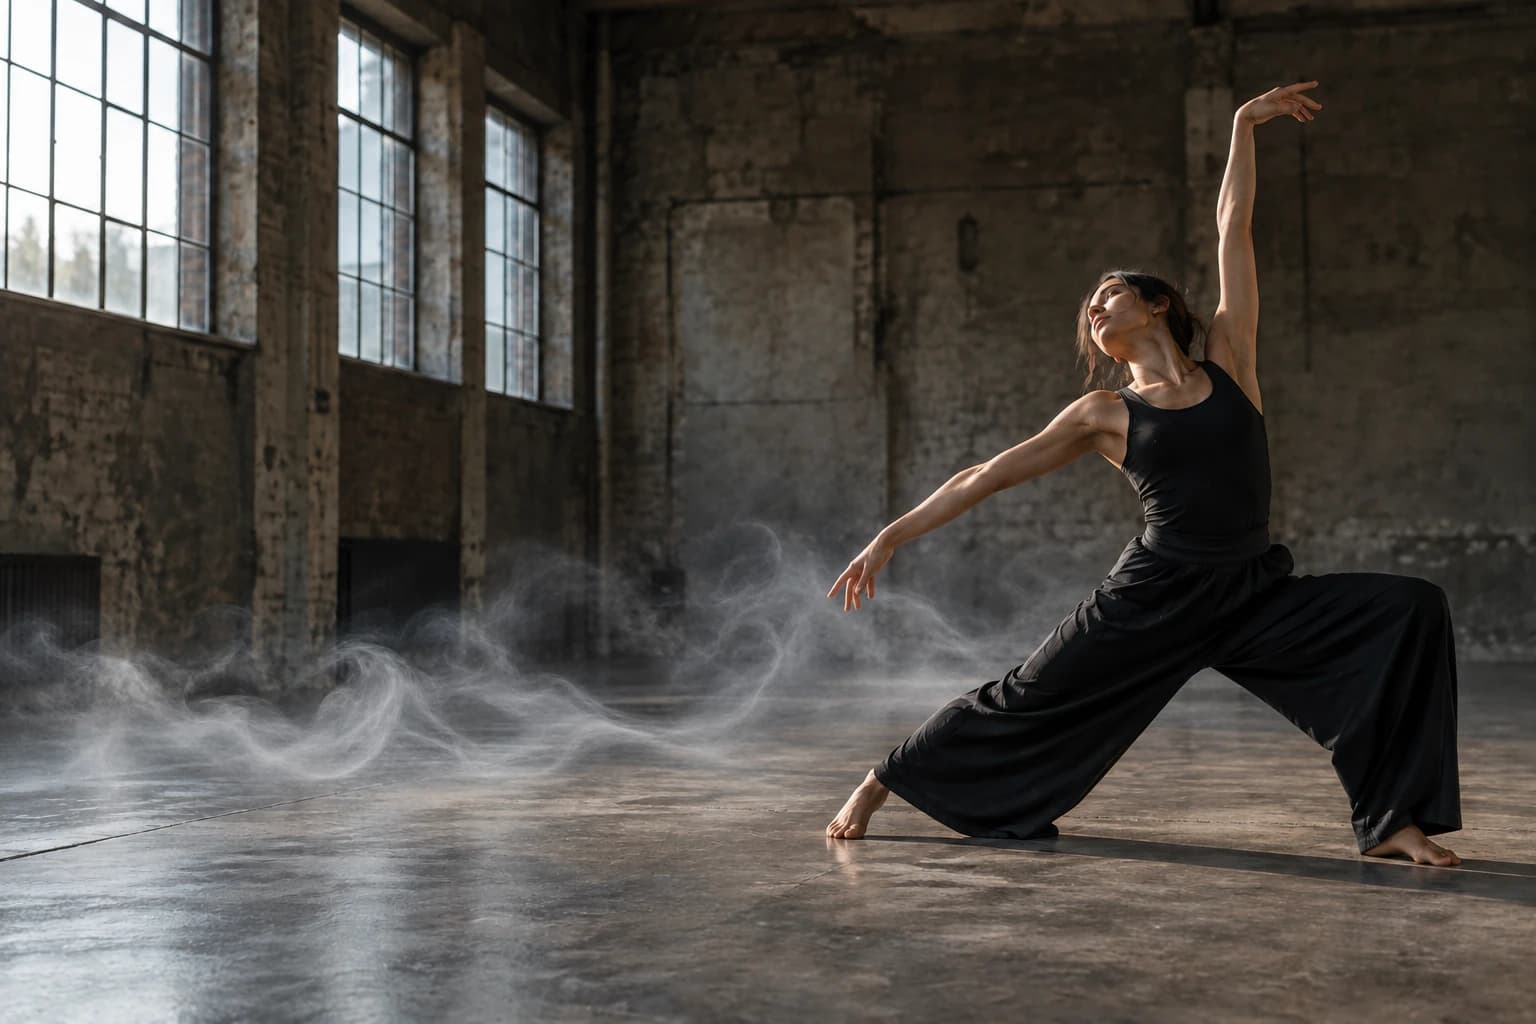
Give the effect a believable origin
Place the narrow or less dispersed end near the source. Steam from a cup should appear to rise from the liquid, not from the front of the mug. Breath should begin close to the mouth and travel in a direction that fits the pose and wind.
Rotate the layer only as far as the shape remains plausible. Flipping can help placement, but it also changes any directional light built into the texture. A foreground wisp can enter at an edge of the frame without needing a visible source; its scale and focus still have to fit.
Choose a thin enough shape
For food and drink, a large dense cloud often hides the product and resembles theatrical smoke. Start with a sparse element. Keep the central product details readable and let the steam disperse as it moves away from the source.
A side or corner element is useful when the subject needs to stay clear. It is less suitable as a universal replacement for an isolated wisp. Choose it because it fits the composition, not just because it leaves empty space in the middle.
Start neutral, then match the lighting
Neutral grey or white is flexible for general-purpose smoke because it does not impose a strong colour cast on every scene. It is a starting point, not a requirement that every finished composite have perfectly equal red, green and blue values.
Smoke in a warm backlit scene may pick up a warm tone. In cool shade it may appear cooler. Apply a clipped colour adjustment and judge it next to nearby highlights. Strong blue smoke over neutral studio lighting is a deliberate colour effect, not a neutral utility layer.
Protect the transparent edge
Use Normal for a smoke PNG with real transparency. Do not select and delete its background again. Fine wisps rely on many intermediate opacity values; a hard mask discards them and leaves a cut-out contour.
Check the layer on both light and dark backgrounds at 100%. Watch for bright rims, square patches or abruptly blurred sections. Blur and aggressive sharpening may conceal one problem at preview size while making other details worse. If the source is visibly damaged, use another element.
- Place and rotate the transparent PNG.
- Match its size to the physical source.
- Adjust opacity and colour on the effect layer.
- Mask only where an object should cover the smoke.
- Inspect its edge on the final photograph at delivery size.
Judge detail at the size you will use
Steam does not need to be as sharp as the rim of a cup. Softness can be correct; block-shaped softness and repeated artificial texture are different. If a small wisp has to fill the entire frame, choose a larger original or a different shape before sharpening it.
Files for this workflow
Light & Atmosphere
Guide the light, separate the distance and bring a little weather into the scene. PNG layers for portraits, outdoor photographs and expressive edits.
Explore 76 files · $39